Want to better care for nature in your own neighbourhood?
Last month, volunteers across the state participated in the Volunteering in Nature Summer Series. Participants visited Victoria's parks to get a taste test of the many fun and diverse skills you can learn as a volunteer.
Plant propagation, the growing of new plants from existing plants, is an extremely important task. By propagating plants, you can help increase important populations of flora and support the revegetation of native habitats.
Volunteers visited Westgate Biodiversity: Bili Nursery & Landcare to learn about the importance of biodiversity and native plants in Westgate Park on Bunurong Country.
We've pulled together their top tips to show you how to propagate native plants:

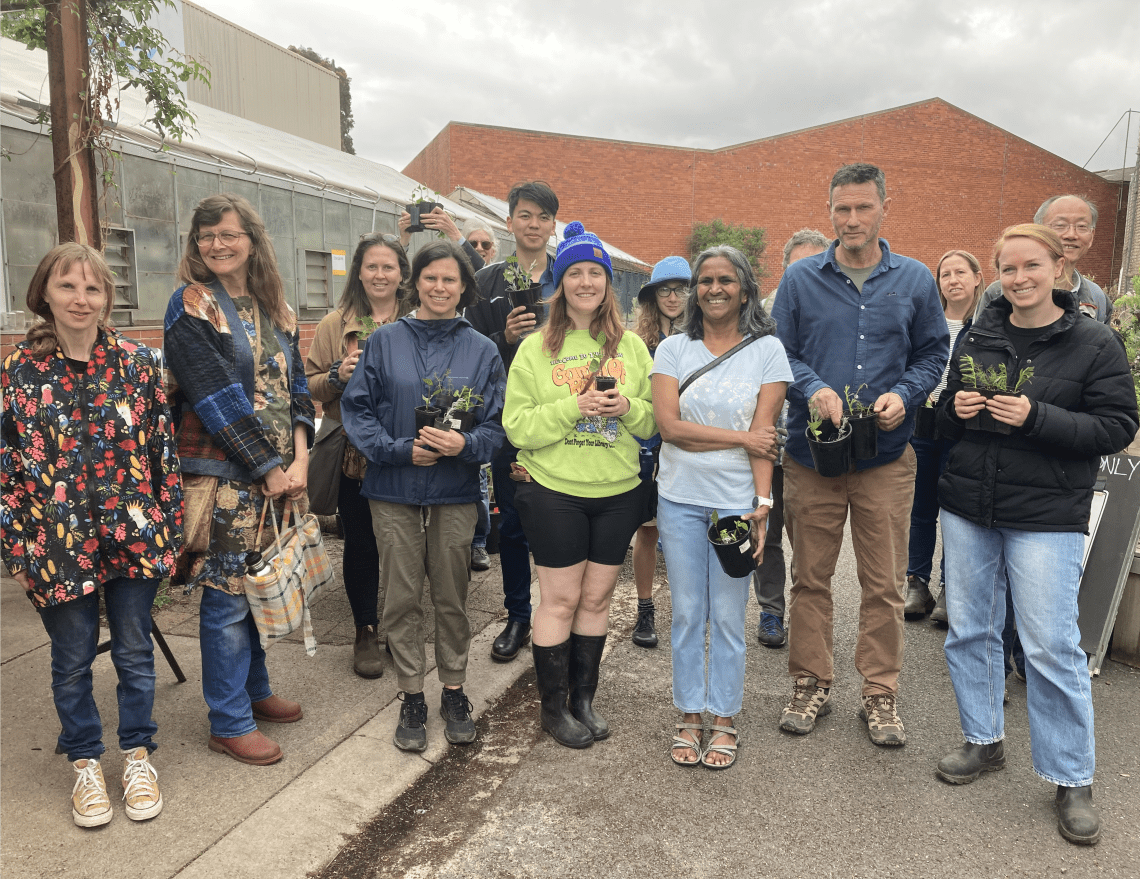
Volunteers at Westgate Biodiversity Nursery showing off their new cuttings.
1. Collect your materials
To propagate plants, you need the right materials to give your cuttings the best possible chance at success.
You'll need:
- Coconut fibre and perlite (or potting mix)
- Sharp, clean scissors
- Hormone stimulant (or raw unprocessed honey)
- Small plastic pots
- One larger plastic pot
Place soil into your small plastic pots. If using coconut fibre and perlite, use a mix of 10% fibre to 90% perlite. These materials can help retain moisture which is vital to cutting growth.

2. Cut to size
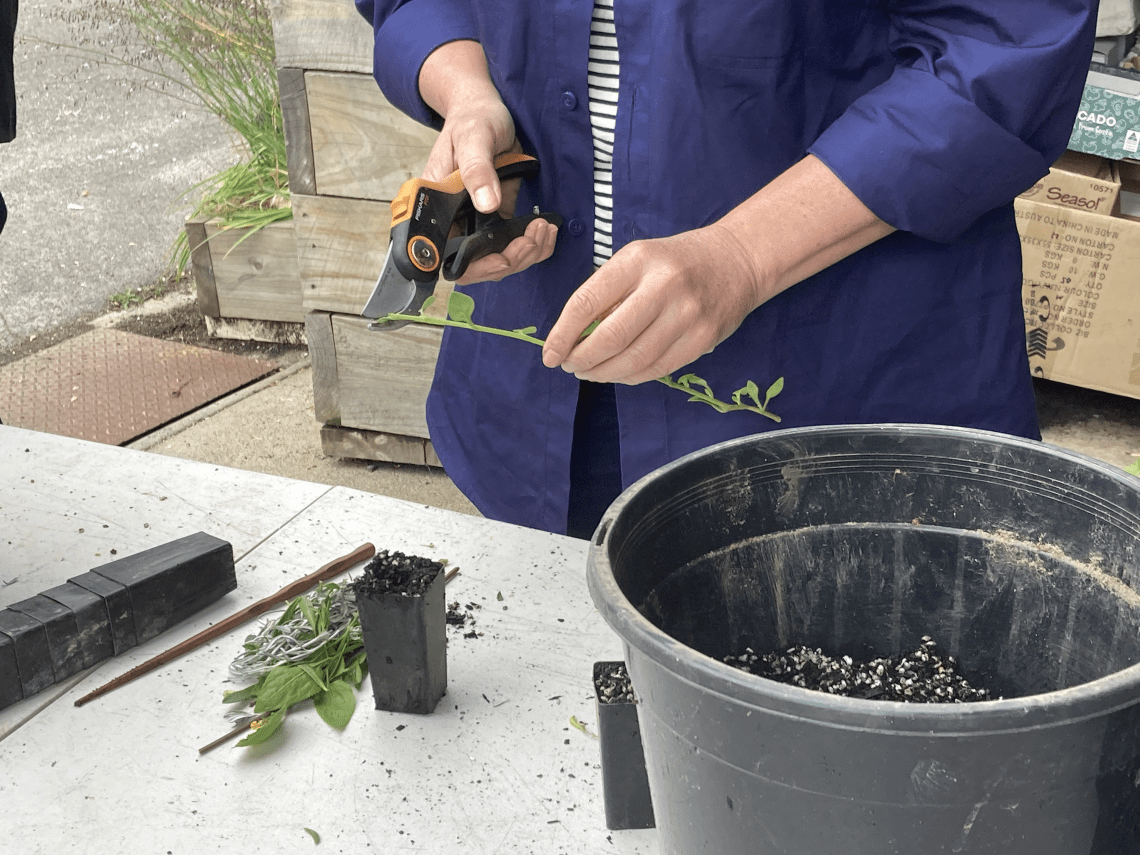
Once you've selected your cutting, look for a section of the plant stem which isn't too floppy or hard. Ideally the cutting should be roughly the size of your hand. Begin by cutting the top of the plant, directly above the leaf you want to keep.
Next, cut the bottom of your cutting on an angle closest to a node. A node is the point where the stem meets the leaf. Cutting on an angle opens a larger surface area and helps to promote root growth. Remove the leaves closest to the bottom of the stem.
If your plant has large leaves, cut the leaves smaller so it needs less energy to survive.

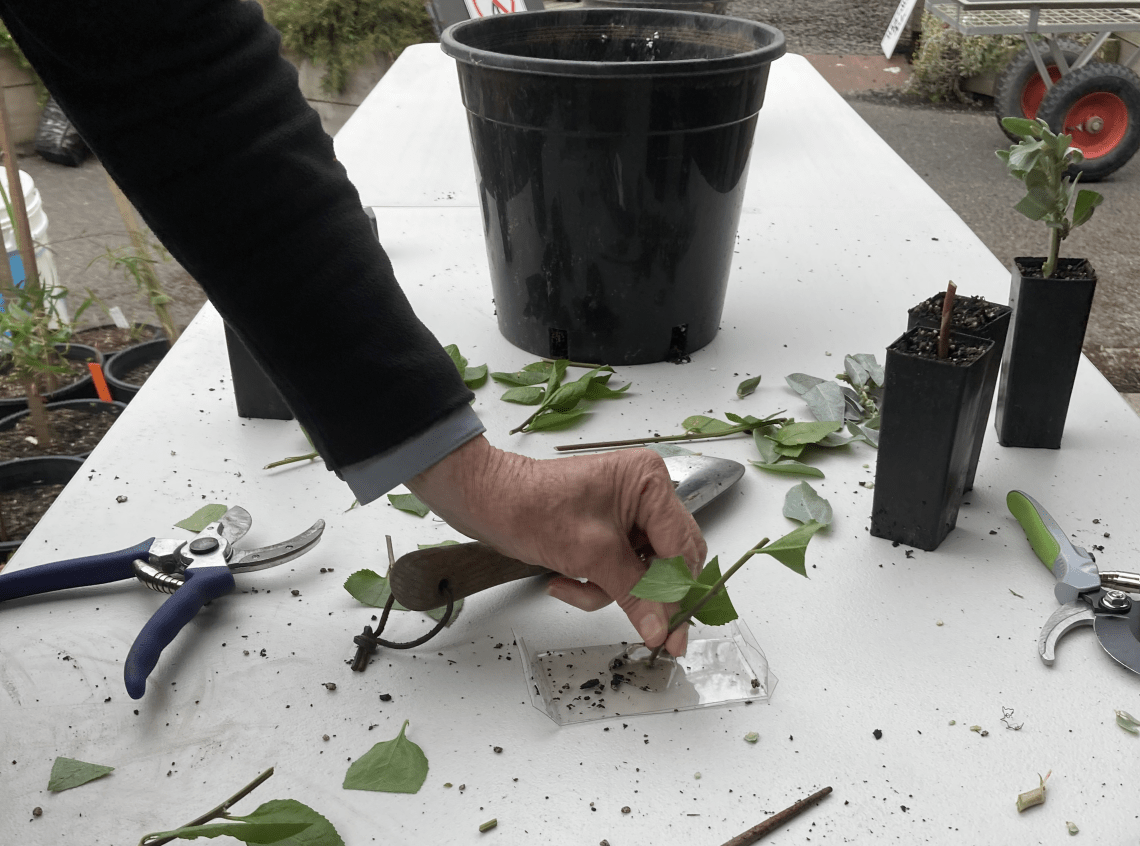
Once you cut your clipping, dip the bottom in hormone stimulant. You can also use honey as an alternative!
3. Time to pot
After you make the cut, dip the bottom of your cutting immediately in hormone stimulant, honey, or place it in water. This will help prevent infection and immediately support the cutting to grow roots.
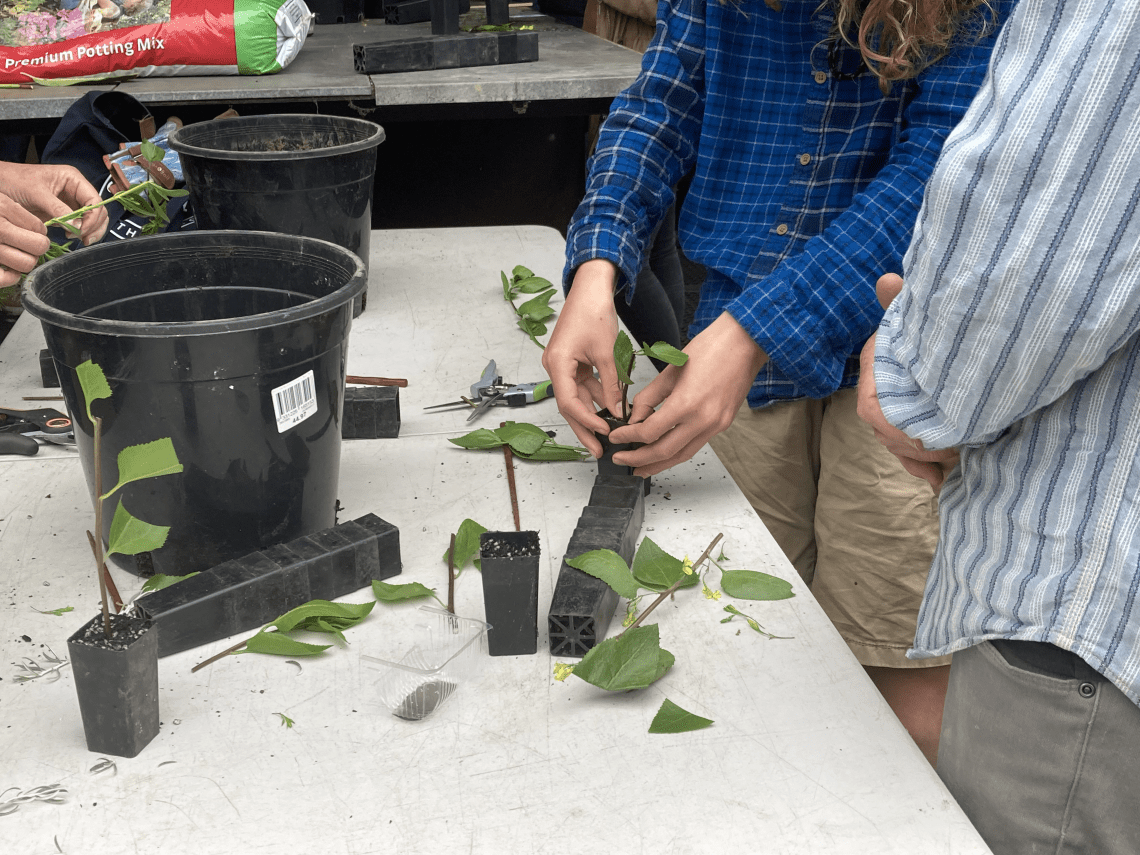
Place the clipping into your smaller pot. Pack the clipping in tightly so it is surrounded by nutrients.
Place your smaller pot inside the larger plastic pot. Cover the top of the large pot with a plastic bag to help retain moisture. A moist environment is extremely important for propagating - roots need it in order to grow.
4. Be patient
Remember, propagation takes time! You might want to label your cuttings and the date they were propagated to keep track of your progress.
Wait until you see roots growing out the bottom of your small pot before you attempt to move your plant. If you pull the clipping out of its small pot too early, you will risk damaging any growth and having to start all over again. Westgate Biodiversity Nursery recommend waiting around 6 months before pulling your plant out of its pot to check if you've been successful.
Not every propagation attempt will work, but don't give up. As you practice propagating, you will improve your skills and know-how to better understand the species you are growing.

Remember, national parks and other protected areas are "no-take" zones. Do not take cuttings from protected areas or you can harm important plant species chances at survival.


